Player’s Tool and Ball Marks Prototyping and Design Breakdown
This article breaks down the design and prototyping process for the Player’s Tool, one of our first products. I thought this would be easy but ended up going through a handful of different designs in testing before ending up with both the Player’s Tool and Machined Ball Marks products.
My goal with the Player’s Tool was to make a divot tool that was small but fit into your fingers perfectly so it wouldn’t stab back into your hand. A lot of divot tools I had were either clunky and sharp in my pocket, difficult to retrieve around tees, and not great for actually repairing divots. One thing I did like about some of them though, was that they had a ball mark. The best marks I thought were the thin and slightly shitty plastic ball marks that courses had for free, I wanted a design that was reminiscent of that for a ball mark that could be held by the tool and also easily retrievable while the tool was clipped on your pocket.
I experimented initially with a tool design that included a hole to help your thumb grip, and a set of cutouts right above the business end that would fit your index finger. The tool had a slot on the top portion that would house a spiked mark and hide its length, and another hole for a magnet. The top loading design allowed for the mark to be slipped in and out of its home while the divot tool was clipped to the top of your pocket. I was unsure how the pocket clip would look but I knew I wanted a wire one and was searching for a pre-built one to use. The pocket clip was going to be riveted in place, because I thought that would look cool.
To make this initial design, I had to spend quite a bit of time learning how to model in CAD. I estimate 15-20 hours just to get familiar with the software using YouTube and free documentation online so I could knock out my first models, which were pretty mid. I don’t think the first prototype I ordered was symmetrical, but it was ordered and cut. Here’s what V1 looked like -
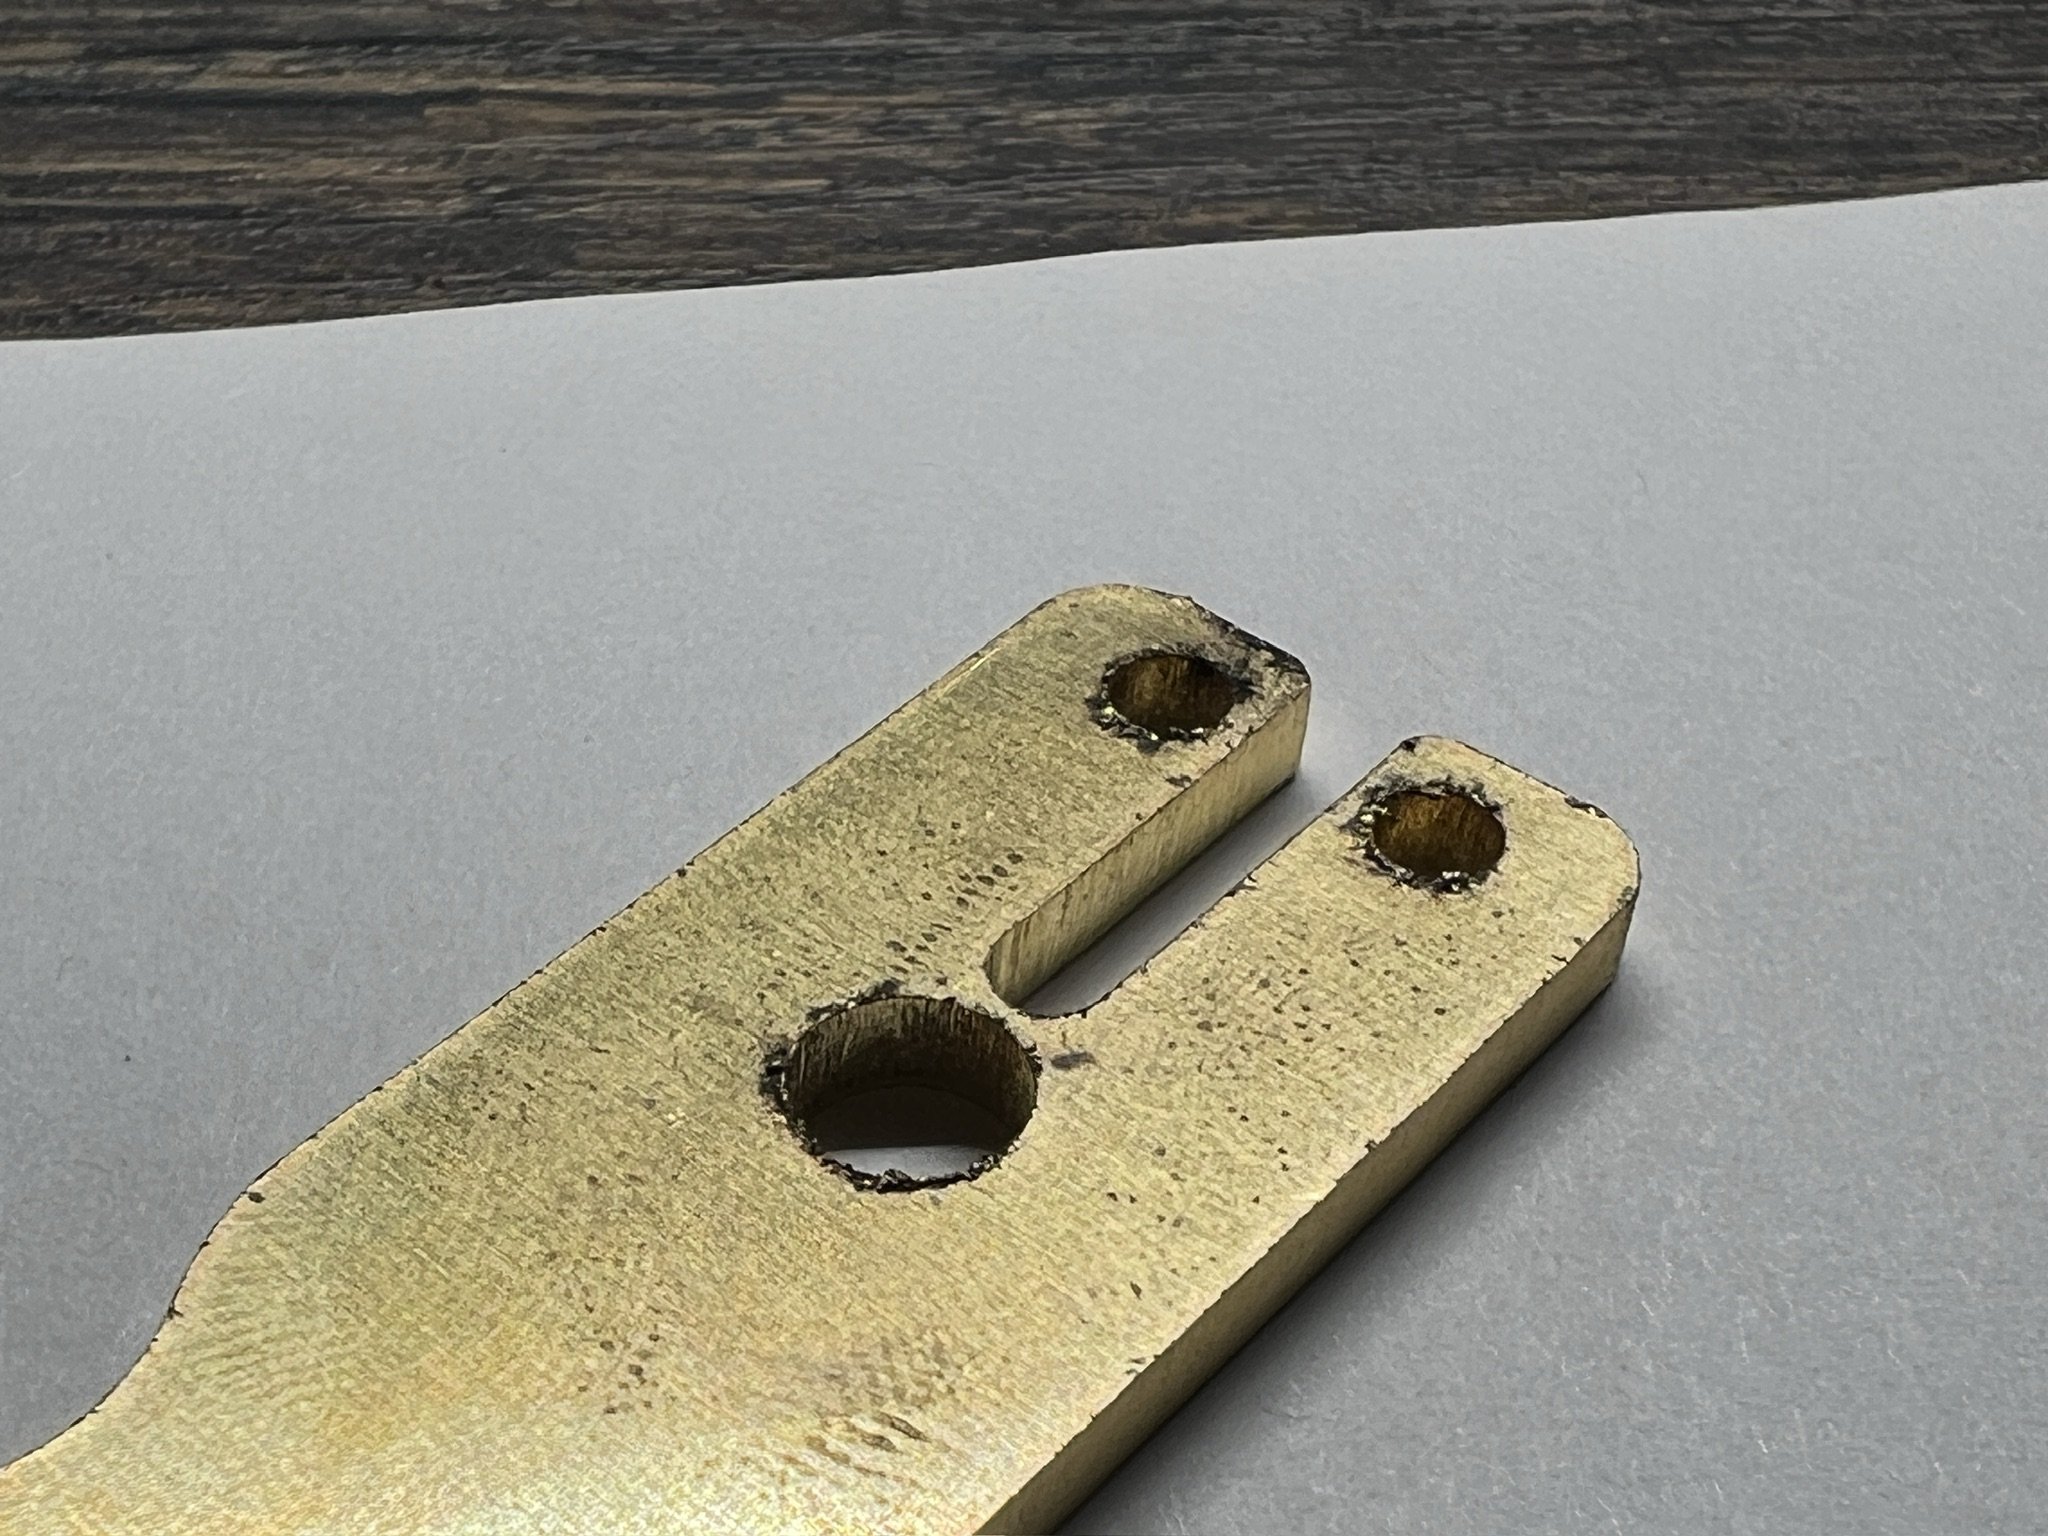
After sanding one smooth and testing it, this was too small overall, the thumb hole was too small, and I needed more finishing services to be done at the shop. I mean look at these edges I had metal shavings in my fingers for days after sanding these.
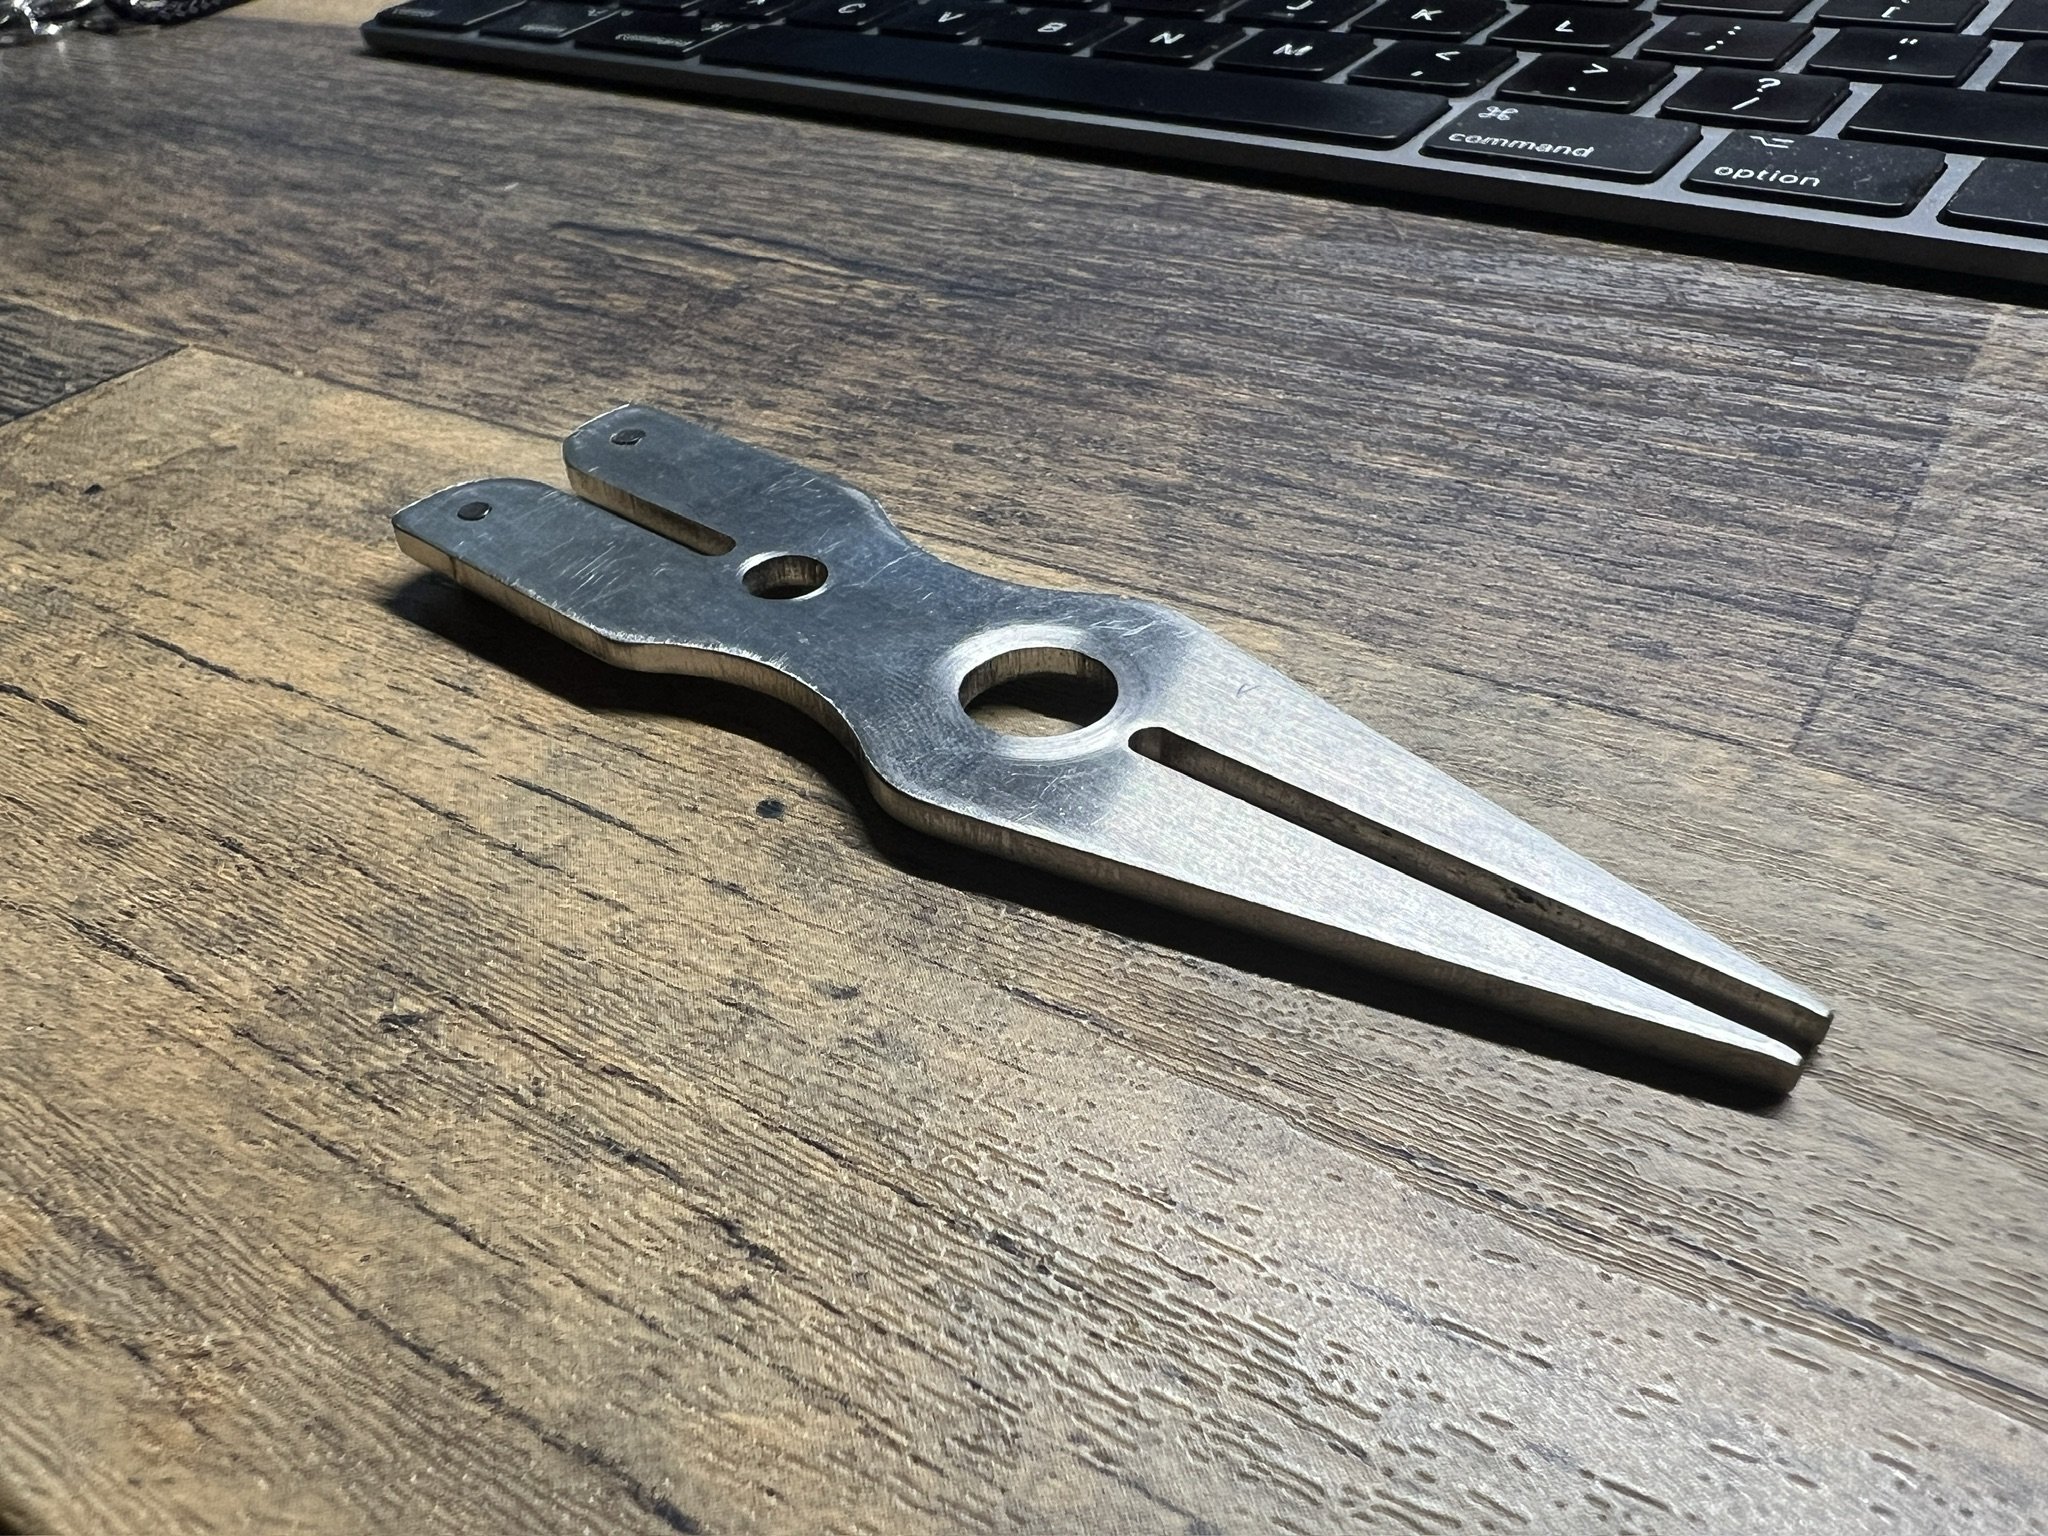
Although the edges were sharp I liked the narrow tip design. It stuck into the green well but in order to get more finishing from my chosen manufacturer I needed the piece to measure at least 1” x 3” to meet their minimum part size. I beefed up the overall size and made the thumb hole and finger grooves much larger for V2, which I was able to order deburred. As an added benefit, I didn’t know tapped holes were an option (they had the same min part size as deburring) so that got me thinking about using screws instead of rivets since installing rivets, although cool, would be a pain at any type of scale and require an expensive, cumbersome machine. To test it out I added a few tapped holes.
V2 stuck in the green like a sword, and looked like something you would buy at the ninja star stand in an open air market. Needless to say it still has a soft place in my heart. It did however have some sharp edges (I sanded down the one pictured below a bit) and was difficult to grab without a groove for your middle finger.
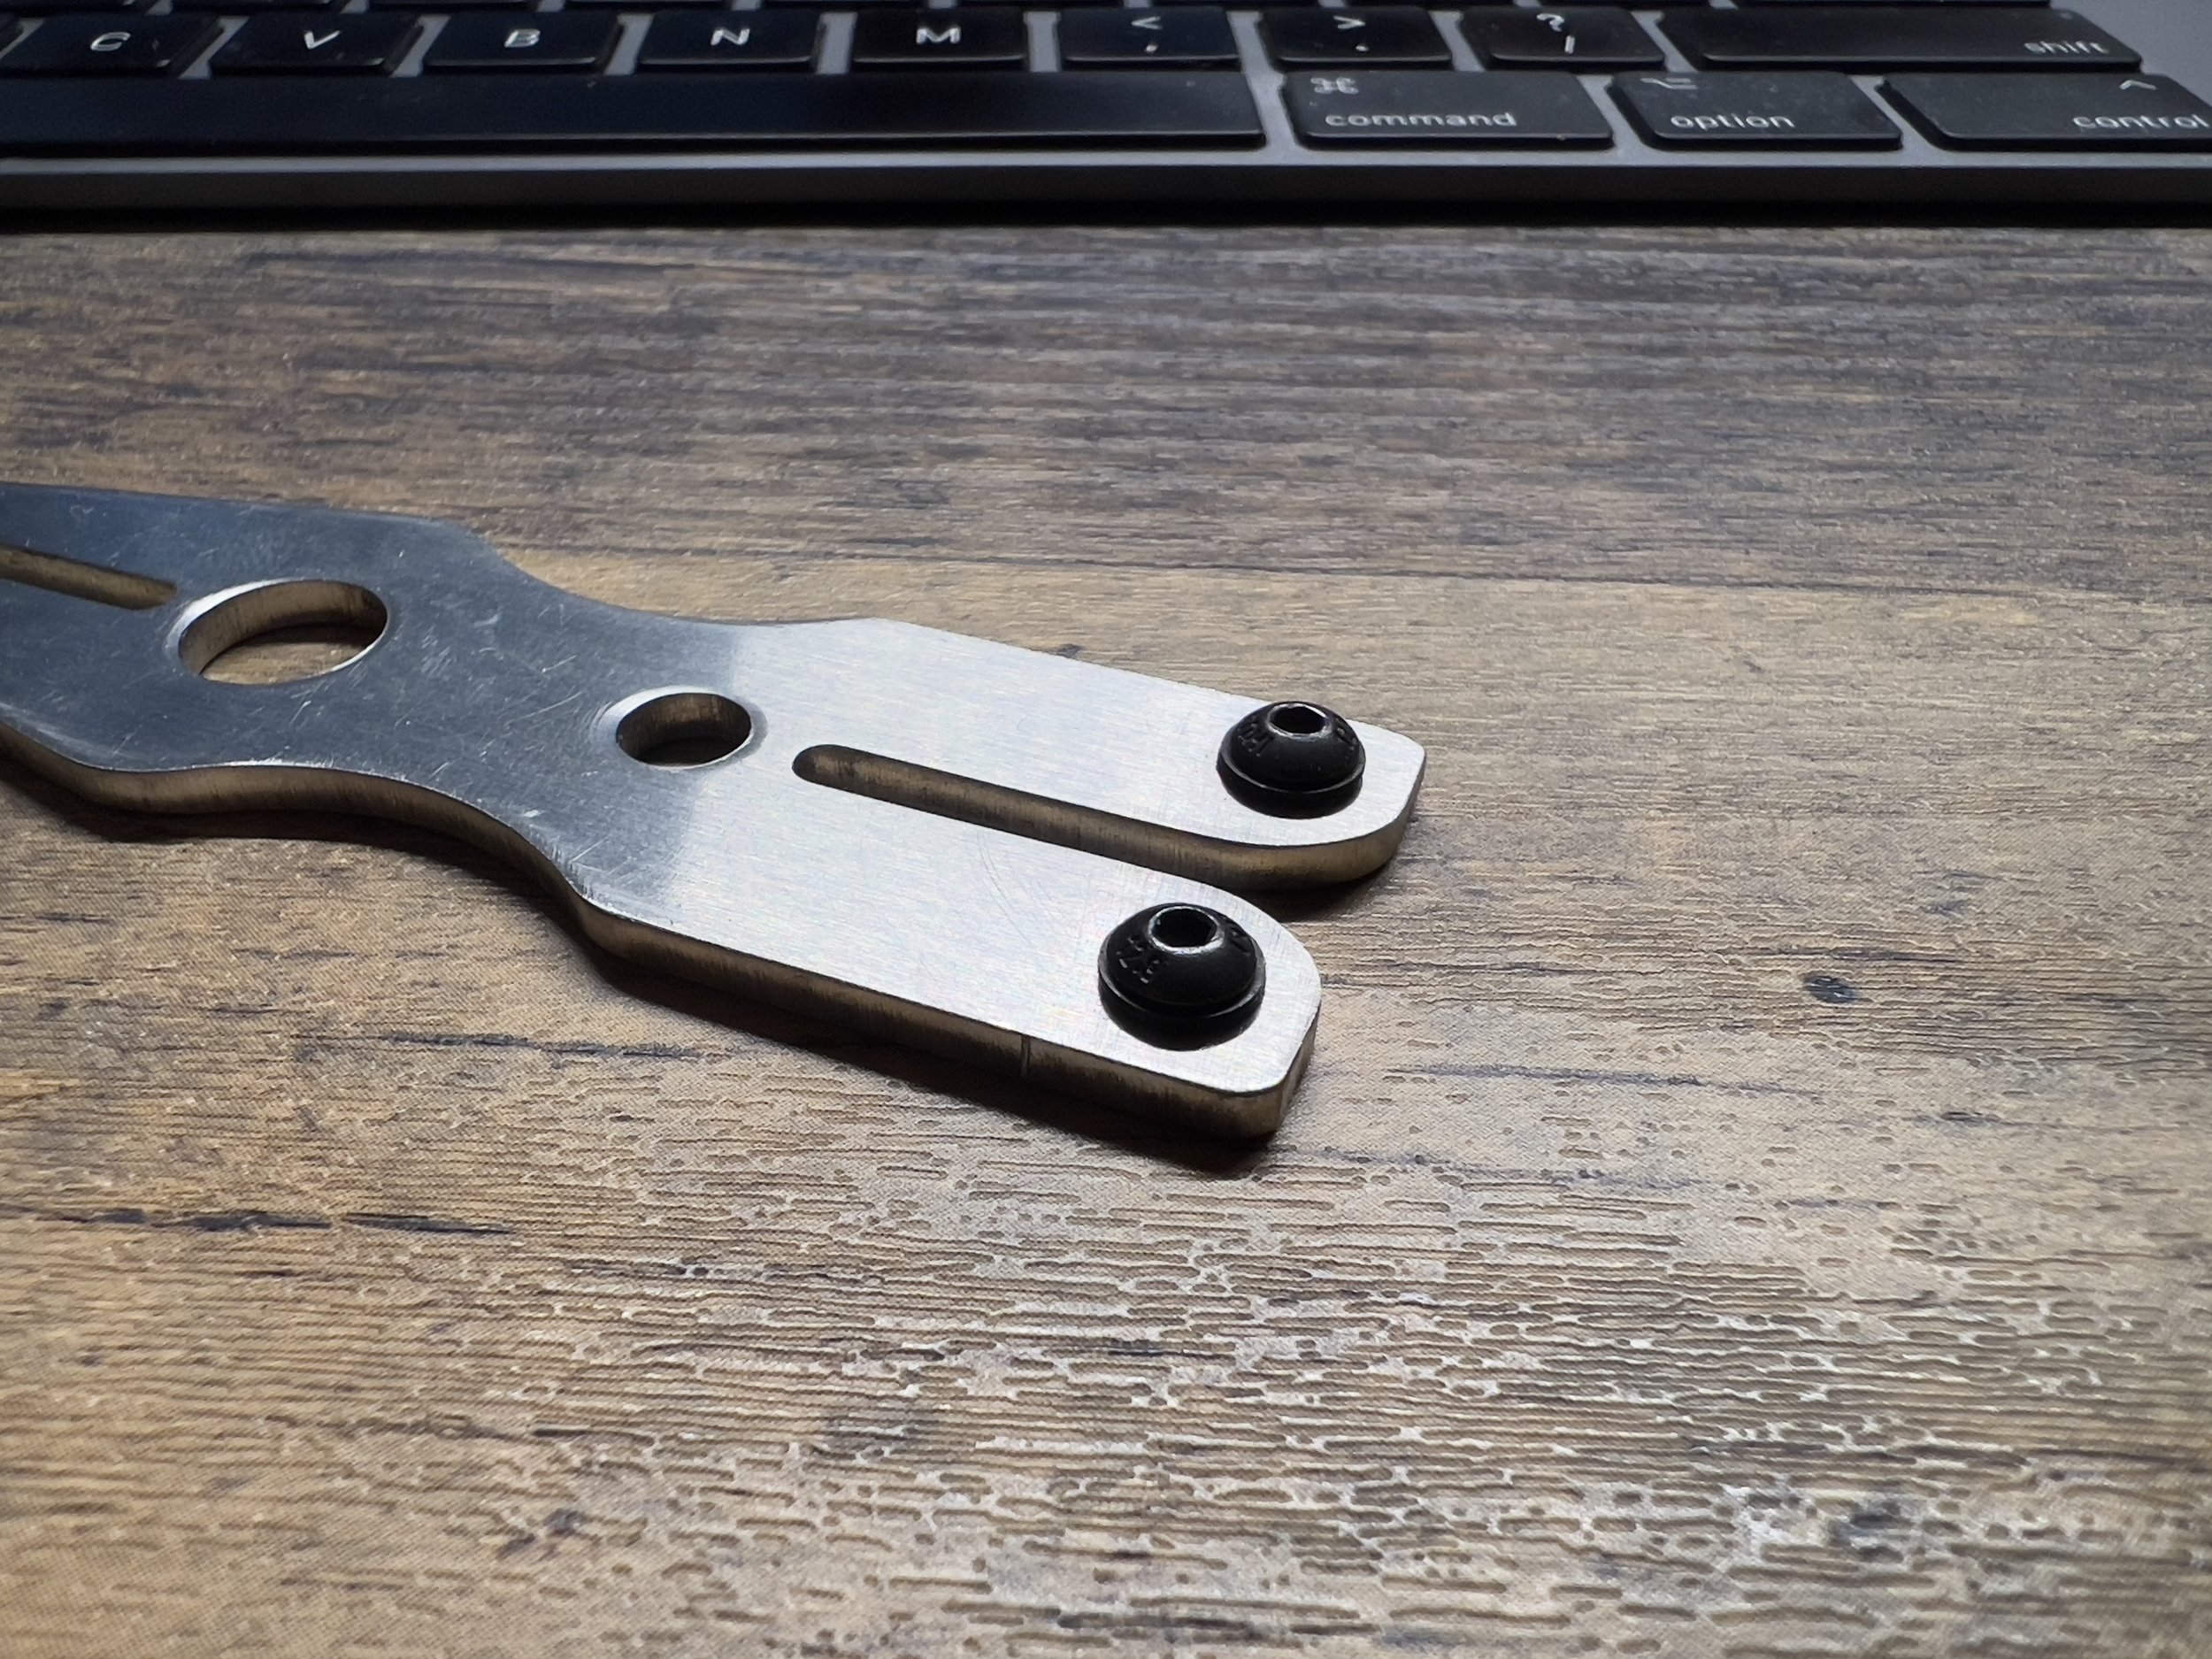
After V2 I decided to add a second groove for the middle finger, dull the tip slightly (V2 was quite pokey), and explore finishing services. If I made the tool thicker I could get it tumbled which would hopefully be a good enough finish for the final product. I ordered another set of prototypes then turned back to the pocket clip.
Here’s what V3 looked like -
For V3 I also I added two notches along the ball mark channel to house the pocket clip. I had this thought in the back of my head that if I design a clip that didn’t require tapped holes I could add to the coolness factor.
After spending so much time in CAD learning how to make the body, which felt basic, the wire form for the pocket clip was honestly intimidating. I had a hard time piecing it together with my current level of knowledge so I spent a lot of time on YouTube and ended up building the first model completely the wrong way, using the sheet metal dashboard in FreeCAD which was probably horrifying to every manufacturer I sent it to for quotes. I did not get many quotes, and got straight up ghosted a few times. I wasn’t a huge fan of the design though and felt limited by my level of knowledge in the software. I really needed to learn a lot more to model the shape I had in mind.
This 2mm x 2mm square wire using the FreeCAD sheetmetal dashboard.
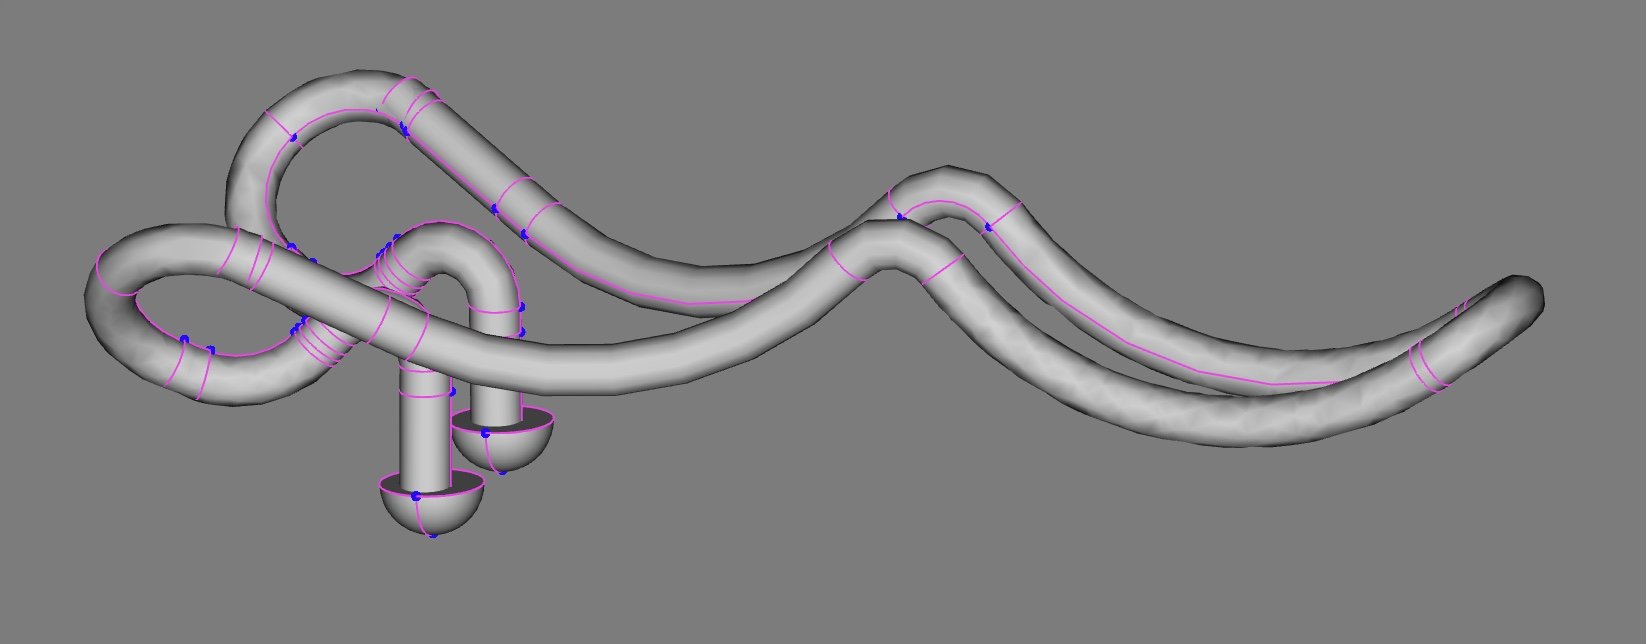
I spent a lot of time thinking what kind of shape I would need that would create tension between the pocket clip and side of the tool so that it was snug in your pocket, would not move when pulled up or down, and enhanced your grip on the tool. I thought the clip could be a great way to make the tool feel bigger than it was and maintain a small overall profile. I also thought the clip could be a cool statement piece and add to the overall looks if I got it right. I wasn’t sure exactly what kind of shape I needed but I thought it was going to need to loop through and back on the far side so the ball mark could glide over it.
I ended up with this, after much trial and error, and learning how to create objects with bends in a lot of different directions in FreeCAD. Long story short - construction planes and extra points for defining them after manipulation in the part workbench was key for this piece.
This is modeled in 1mm radius wire with off-center end caps.
After about 20 declined quote requests I had to change this design, no one could make the end caps so I ended up replacing them with a 90 degree bend.
At this time I was still thinking of having a slot at the top of the tool for spiked mark storage but without the ability to make end caps on the pocket clip I wasn’t sure how the ball mark would slide in and out easily. Regardless, I proceeded with ordering an initial 50 ball marks with the plan of just hanging on to them until my other pieces were ready. I was not particularly savvy in material science at the time (still not) and ordered a piece that I needed to be magnetic in 304 stainless, a non-magnetic alloy. Whoops.
Regardless, I thought the ball marks were cool and I threw a few of them in my bag. One fateful day while I was playing I tried them out and realized they were really easy to fish out around other stuff. They were heavy and smooth, with a tendency to end up at the bottom of your pocket where they could be easily grabbed. Neat. I played with them a few more times and started giving them away then realized this might be a good standalone product. Then I thought about ditching the spike-ball-mark-tool combo altogether and making each one separate.
I proceeded with finalizing the wire form for the pocket clip with small bends instead of end caps, and sent it out to collect quotes. All but one said they could not make it so that made picking a manufacturer easy. I ordered samples right before the Chinese New Year, sent a part for test fitting in March, and ended up getting samples in early April that were a treasure.
This is modeled in 1mm radius wire
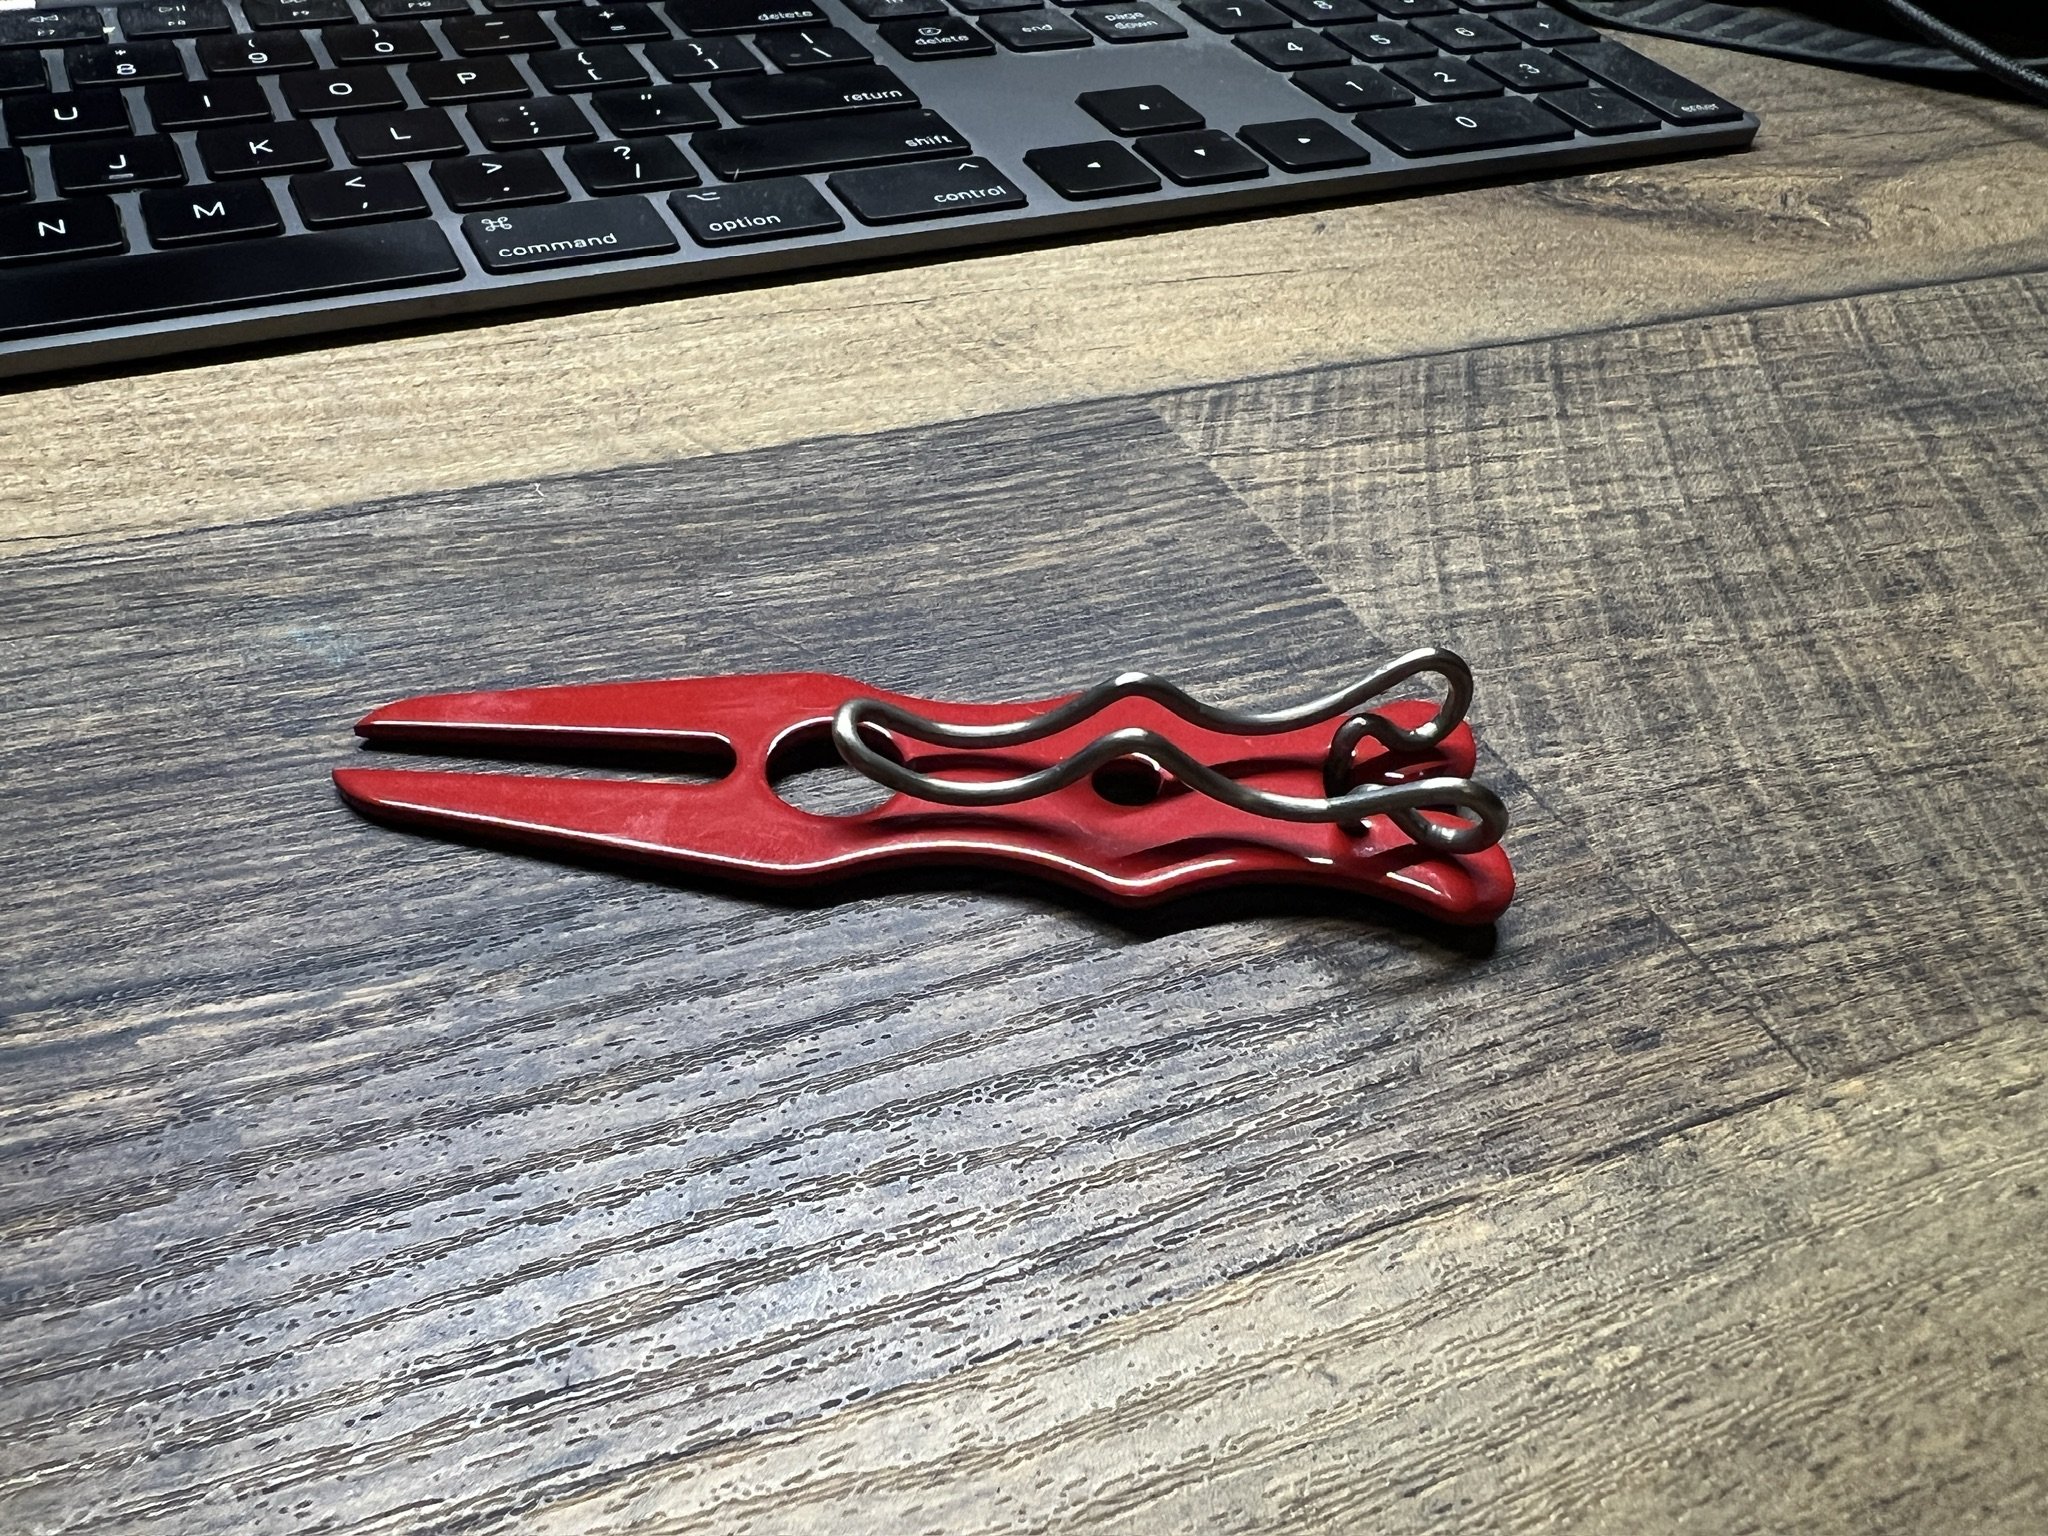
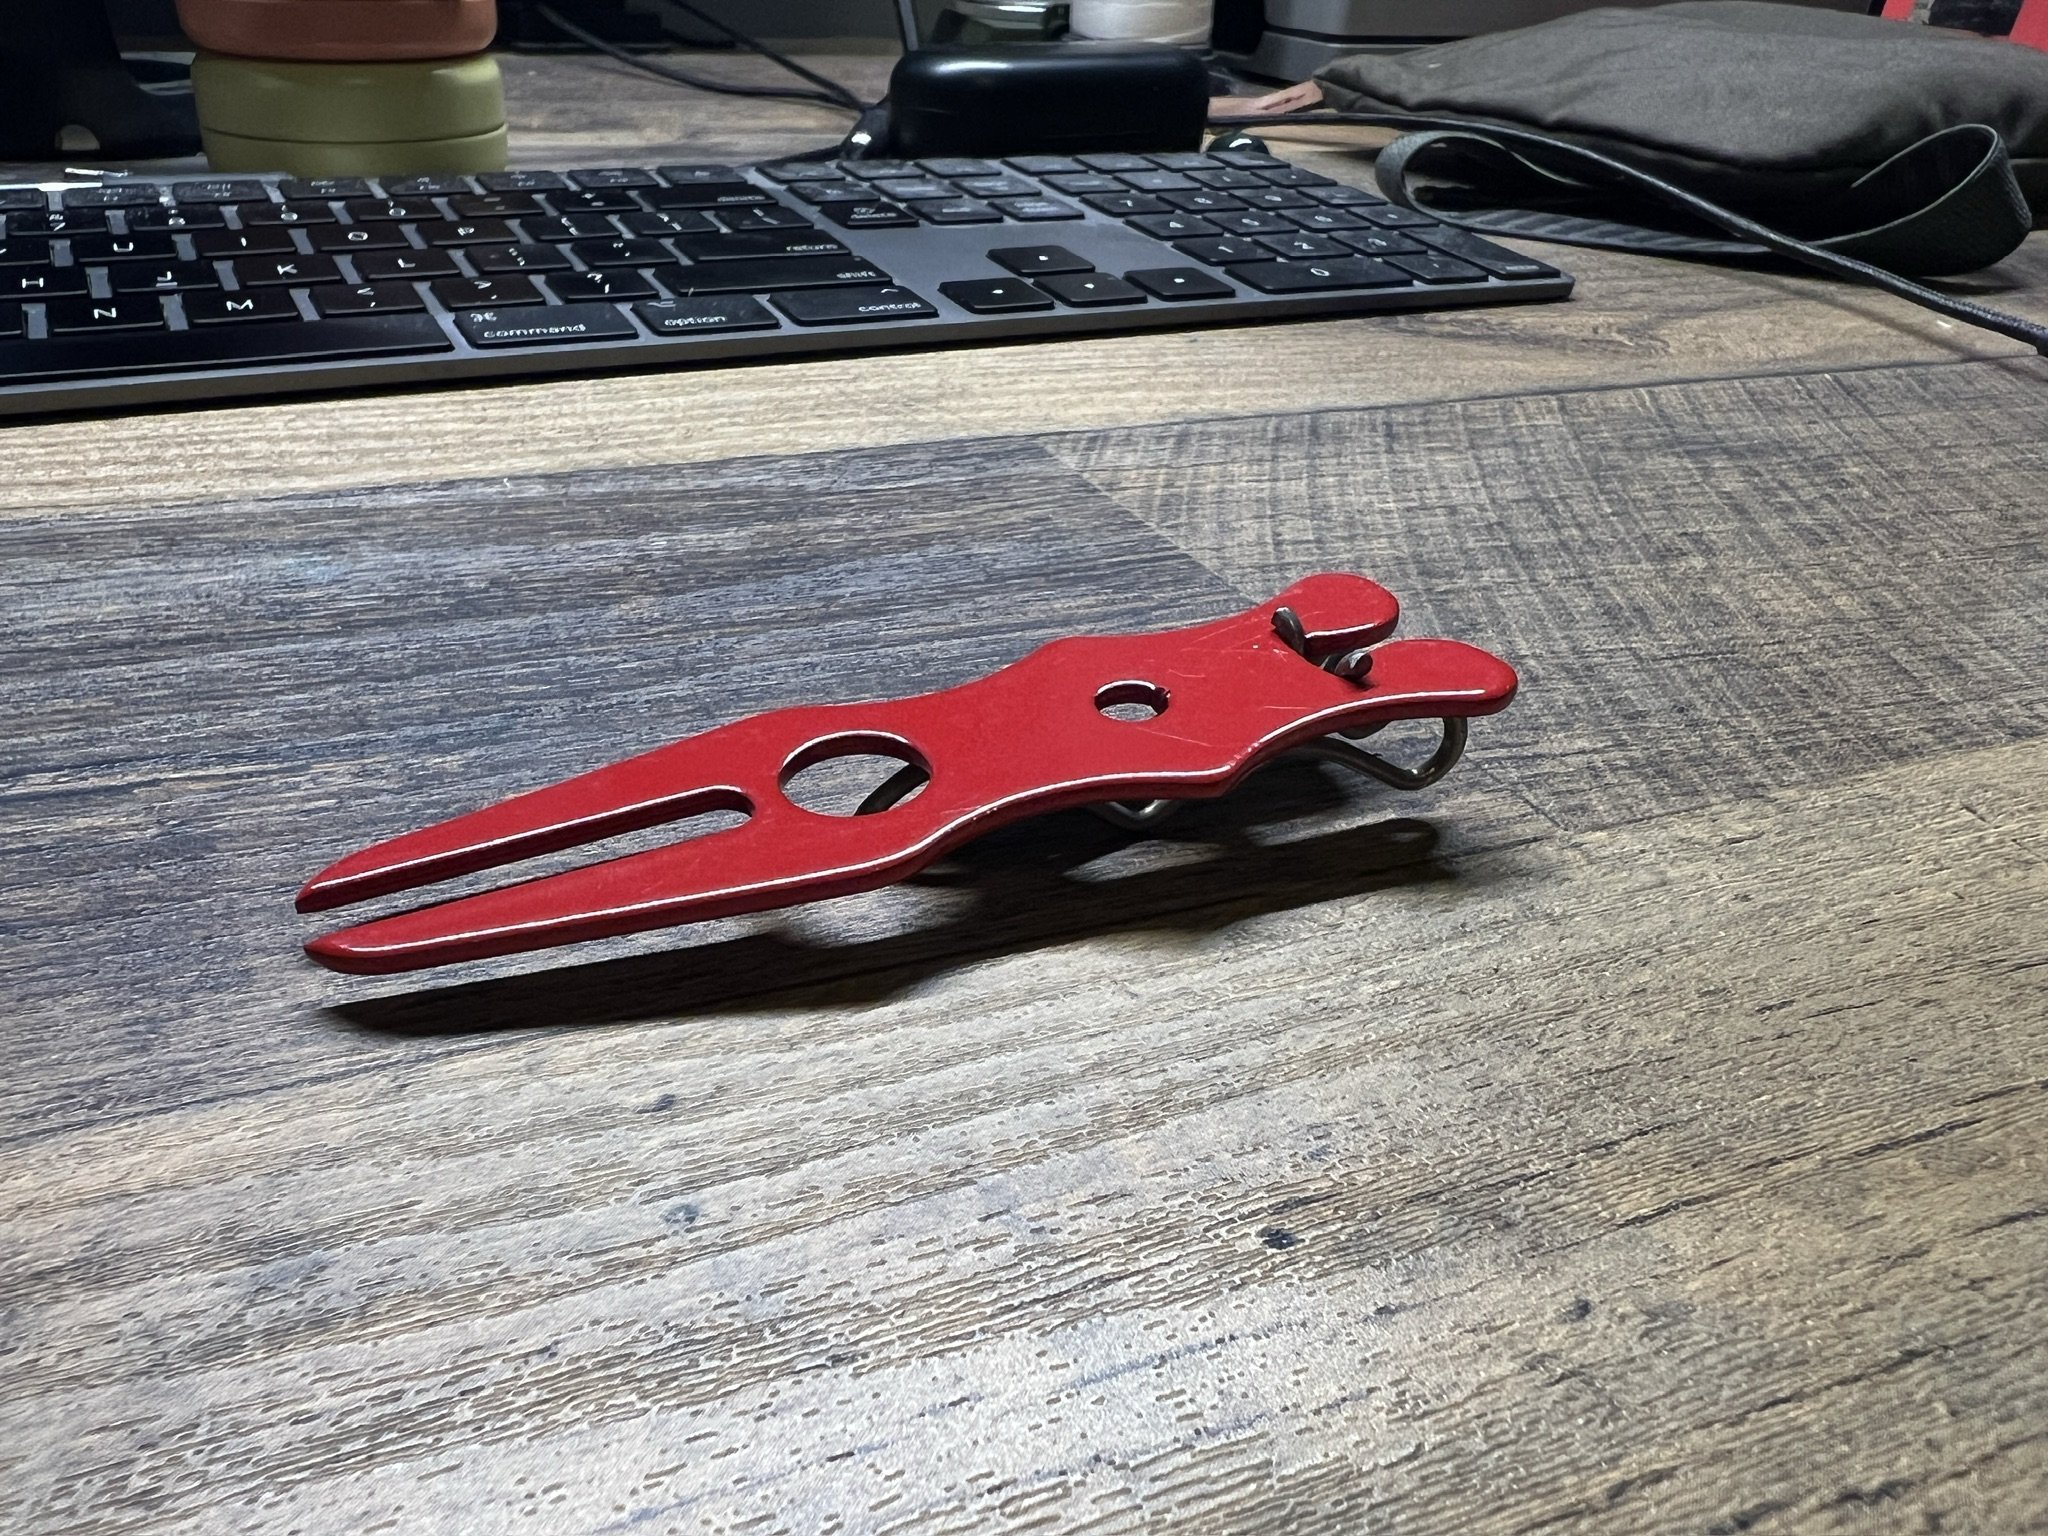
I lined this up with a few different orders for the main body to test out finishing options and different materials. The two original metals I wanted to use were brass and titanium because I thought they were cool. Brass was too soft and would require a thicker tool that didn’t stick into the green well. Titanium is difficult to work with and would require extensive finishing that I was not equipped for in house, and would be expensive to pay for outside. I experimented with powder coated stainless steel and liked the candy appearance of the coatings but needed to fine tune the thickness. Here’s what I ended up with as the first assembled product:
1.8mm thick Players Tool prototype with red powder coat with snap in clip.
1.8mm thick Players Tool prototype with red powder coat with snap in clip.
The two pieces fit pretty well but I needed to change the way the clip interfaced with the body to make a stronger joint, taking into account the thickness of the coating. I also wanted the tip to be thinner along its length so it stuck into the green easier, and I needed to dull the end a bit since this design stuck into the ground well but liked to grab your pocket when you were putting it away. I also planned on installing a magnet in the smaller hole, and did on a few of these, but having a ball mark on the tool right where your thumb went while pulling it out of your pocket ended up making it way difficult to use. Then, I played a round with the tool clipped on the top of my pocket and a few spikes floating around with my tees and was really happy with the experience except for the way the tip of the tool dug into my pocket during stowage. I ditched the magnet entirely and revisited the drawing board to make the tip thinner along its length (think forklift) and change the tip geometry so it didn’t have such an abrupt edge.
I modeled another version of the body which arrived April 15, 2024. This was closer to what I wanted but I didn’t feel the clip attached as solid as I wanted it to. Also the spikes, although they worked well on the green, still wanted to catch the inside of my pocket while putting the tool away.
1.5mm thick Players Tool prototype in yellow powder coat with snap in clip.
I went through everything above, including writing this article up to this point, then benched the product for two months because I no longer felt the Player’s Tool or Ball Marks would be viable due to multiple, expensive parts. I felt like I had gone too deep down a rabbit hole with this design which I liked but didn’t love after many iterations.
During my last two months in Jersey City I took a walk up to Hamilton Park to brainstorm additional products and revisited this as a creative starting off point. I had been looking at other divot tools with a single spike and thought about how I could have a main body cut then use one threaded hole at the top of the barrel (think: where you would click a pen) to attach a simple handle. The idea for the current Player’s Tool, as well as a different single-piece design came to me on that walk and I sped walk home to knock out the model which I’m proud to say only took a few minutes.
Here’s the design I ended up going with -
This is 5mm diameter wire which is the same width as a golf tee.
This wire form was tenfold simpler to manufacture than previous versions and required no assembly which dropped the cost and retail price. The thing that led me to abandon the previous version was COGS > $7 which required a ~$50 retail price to meet the 7x COGS to price ratio required to absorb payment processing fees, warehousing, distribution, marketing, and other SG&A/CAC expenses.
This piece was manufacturable at reasonable scale for much less and I thought the one-piece design was elegant, simple, and still checked all the boxes I was looking for. The bent end has a small gap between the main barrel and functions as a pocket clip and thumb rest during use, and the tool fits securely onto the top of your pocket, lays flat when out of use, and is overall lighter, smoother, and stronger than previous versions due to it’s solid, one-piece constriction.
And here is the alternate, sheet metal design -
2.0mm thick Players Tool model
Although I like this version (and may release it later, TBD) I decided to bench it due to it costing 2-3x as much as the wire form version and manufacturing difficulty around coating or polishing where the pocket clip meets the main body. If you would prefer to buy this version, comment below.
While I was going through product iterations for the main body piece I proceeded with ordering a set of samples for the ball mark. Here’s V1 -
2.5mm thick top with a short rounded spike
Initial Ball Mark prototypes
These came out a bit smaller than I expected but were very smooth and heavy which I liked. They had a tendency to settle down to the bottom of your pocket in the exact same spot, even when you had a pocket full of tees, which is something I really liked. The downsides of this was that the spike was not long enough and too round and thick so they sat on top of the green surface instead of sinking down into it, and the top piece was too thick with too abrupt of an edge to be out of the way. Also, dark grey was difficult to see on the green even when reflecting sunlight so they were difficult to locate after walking away from.
Other learnings from this batch of prototypes were it’s better to order 3d prints prior to getting machined parts as it’s much faster and more cost effective, and you should always double-check your materials. I accidentally ordered these in a nonmagnetic stainless alloy and I needed them to be magnetic to hold on to the main tool piece. This was not the most expensive lesson I learned but definitely could have saved a few dollars with additional diligence and 3d prints in advance of a larger order. I still have about 40 of these and give them out to strangers I get paired up with on the course.
On the bright side ordering these in the wrong alloy forced me to raw dog their use on the course by throwing a few in my pocket which is how I discovered they settle straight to the bottom. This was something I really liked and solved the main difficulty I had with plastic marks which is the difficulty in retrieval from a cluttered pocket. This also freed me from the design constraint of having the mark stored in the tool which led to the eventual final design discussed above.
Once I had the Players Tool finalized I mocked up my vision for the ball mark and ordered a 3d print to check the size and fit. My FreeCAD skills had also progressed significantly since the initial model so knocking this out as a revolution, tweaking it, and placing an order for a test print only took about fifteen minutes. Here’s what that looked like -
Ball Mark manufacturing version model
These turned out really well and I was excited to go live with them as my first product. These ball marks are available for purchase here.
Industry Design ball marks.
The Ball Marks are available for purchase on our site as of the publication date of this blog, the Players Tool is projected to arrive in the next two weeks and will be available for purchase by the end of September.
I learned a lot through this initial design process and I’m very excited to take these learnings to my next batch of products which will go live much faster, with more streamlined prototyping, and less cost throughout the development process. Next up on my list is tackling online marketing, sales, distribution, partnerships, and making this site worthy of web traffic which will be covered in a future blog post.
Like, subscribe, and share.
Yee Haw,
AA


